Wheelie Good
a wheel refurbishment story
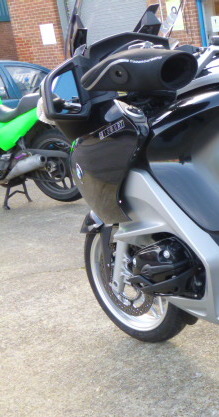
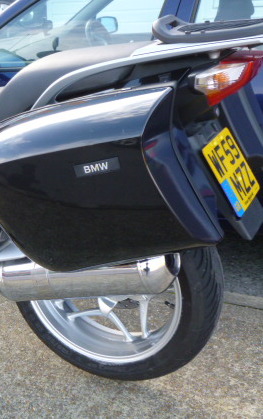
You've probably already seen my new(ish) BMW R 1200 RT featured in a few posts on Wemoto News, and I think we can all agree on its excellence (indulge me, please). But I have been hiding a little secret about this seemingly perfect bike, which I'm about to reveal to you all.
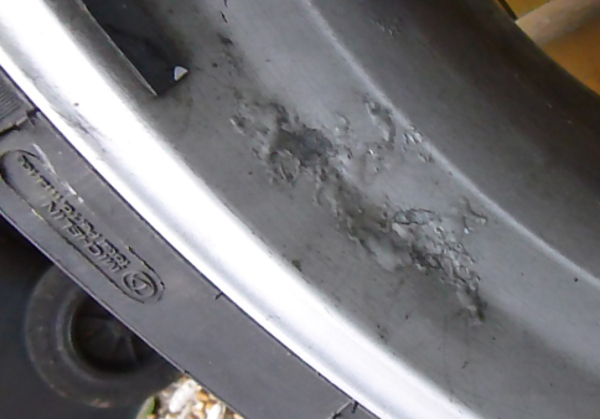
If you look up close...
It's not as perfect as it might have first appeared – just look at those imperfections! And what a shame too. Such a let down on what otherwise is a bike of an immaculate condition.
I needed to put a stop to it. Fixing this finer detail would make my bike the best and most braggable machine in the Wemoto bike park, in my opinion anyway. So I set about a plan to give my wheels the love and attention they craved – and my refurbishment project began.
I did a bit of research: decided which colour to repaint them (I chose to stick with silver), and found a suitable, and recommended, wheel refurbisher to take them to.
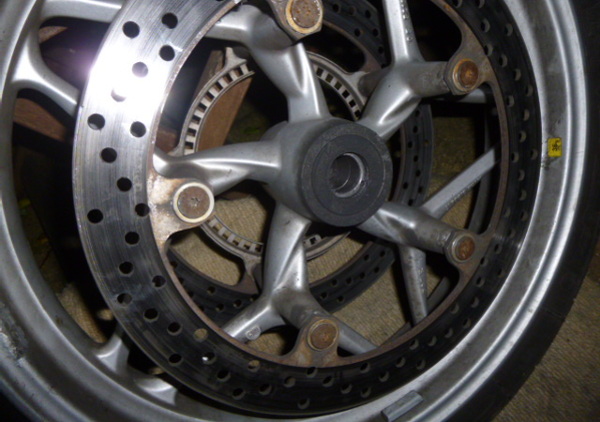
Saturday came and my weekend project begun. I removed my wheels, wheel bearings and brake discs. I fitted screws and washers to the mounting holes, to protect the brake mounting surfaces from damage while the work would be carried out.
I could have taken my bike directly to a mechanic, who would have done all this for me, before sending it to the professionals for powder coating etc., returning it to me a few weeks later, all refitted and with a hefty bill to pay. But the bargain hunter inside wanted to save some money. So I decided to do what I could on my own and use the professionals only when needed. This really did save me money (the entire job cost me little over £150, and was completed by the following Thursday – a lot quicker than it would have been if I'd have dropped it off to be done).
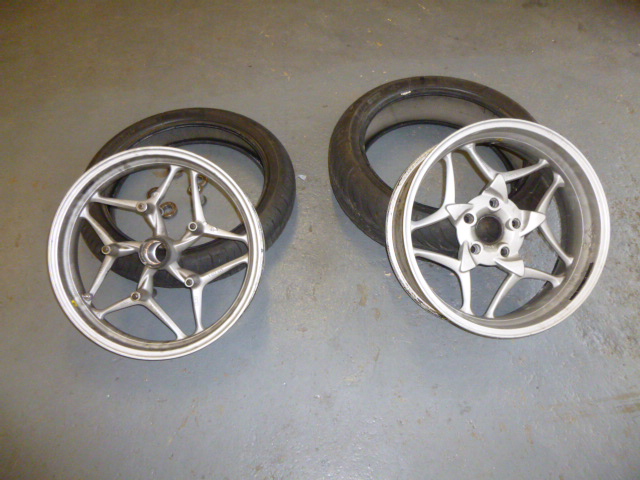
So I visited my mate, who is mechanic (the best type of friend to have, really). He removed the tyres and valves and made sure that the valves were protected for me. The wheels were stripped and ready to go to my second destination of the day: the wheel refurbisher.
The wheel refurbisher bead blasted the wheels, removing that horrible old flaky finish and corrosion. He then heated the wheels and sprayed them with a magical plastic dust (powder coating), which stuck to it, giving it a base coat which, alone, made them look freshly painted. The wheels were then coated in paint with my chosen silver, and lacquered to protect the finish. This took four days.
They looked stunning! Happily, I drove them home in the motor, removed the protective bolts and washers from the disc mounting bolts, along with the protection in the valve holes, and fitted
new bearings and seals. I reinstalled the brake discs using new bolts, making sure the mounting positions were free of excess material and that everything was reset to the correct
torque setting. I dropped the wheels back off to my mechanic, who refitted my tyres, added new valves, and balanced them while I waited eagerly.
Tired of all the back and forth, but not letting it spoil my mood, I rushed back home again to remount my new looking wheels to my bike and check their alignment.
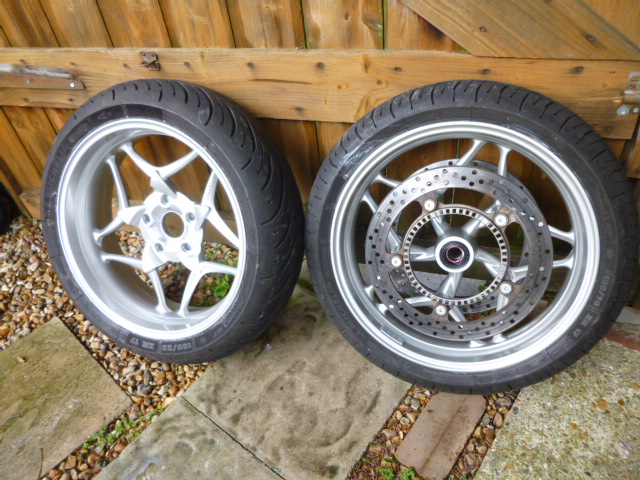
Finally, they were done – no more secret imperfections. I can now ride my bike into the Wemoto bike park, rest assured it will be admired by all. And doesn't it look great:
If you've got corroded wheels and you're looking to get them refurbished, I highly recommend following a similar plan of doing what you can, seeing what your mechanic can do, and relying on professionals only for the hard tasks. If you don't feel confident in what you're doing then, of course, make use of the people who do. But, with a bit of planning and a little bit of leg work, I've managed to get myself a – very reasonably priced - pair of wheels that are probably better than when they left the factory, and now just as superior as my bike. Just as it should be.
[email protected]


